Working With WindowGen
How to open WindowGen interface
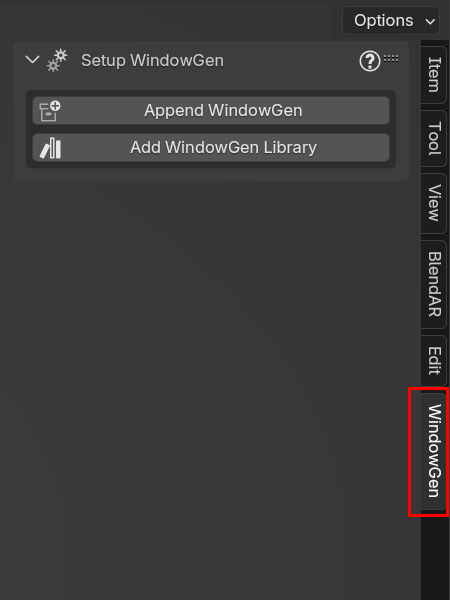
WindowGen is located in the side panel. To open the WindowGen interface, follow these steps:
Press N to open the side panel.
Important
Make sure your mouse cursor is over the 3D View before pressing N; otherwise Blender may open a different panel.
Select the WindowGen tab in the side panel.
How to append WindowGen to your scene
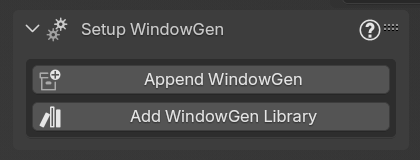
Before you add the first window, append WindowGen components into your scene:
Press the “Append WindowGen” button.
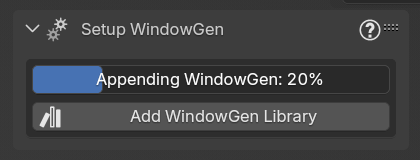
The button will turn into progress bar, indicating that Blender is loading all the necessary components into your scene. This process typically takes 5–10 seconds, depending on your hardware and Blender version.
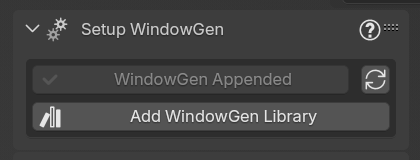
Once all the components are loaded, the button will turn grey, and the text “WindowGen Appended” will appear on the button. And the panel “Add Window” will appear as well.

How to add WindowGen Asset Library to the Blender
WindowGen Asset Library will bring realistic materials to customize the appearance of your windows even further:
Press the “Add WindowGen Library” button.
Once the Asset Library is added, the button will turn grey, and the text “WindowGen Library Added” will appear on the button.

Navigate to the Asset Browser, and select WindowGen in the libraries list to find the materials.
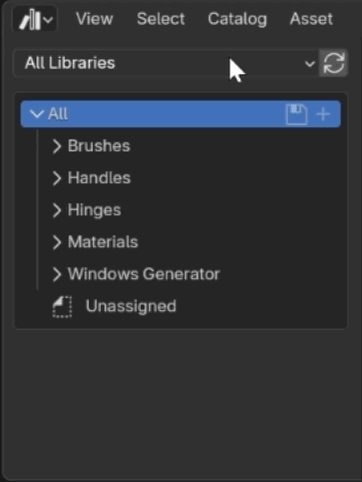
Tip
For easier search most of the materials have tags: Metal, Plastic, RAL color code, etc.
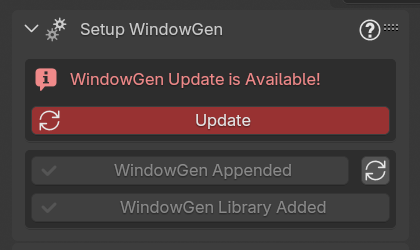
How to update WindowGen
Once you install the latest version of WindowGen addon, you will be able to update your older projects to this version.
Note
WindowGen automatically finds the latest version on your PC and changes the UI to indicate if update is available.
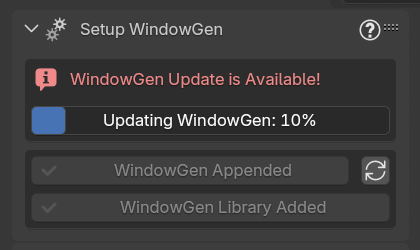
Press the “Update” button.
The button will turn into progress bar, indicating that Blender is updating all the necessary components. This process typically takes 5–10 seconds, depending on your hardware and Blender version.
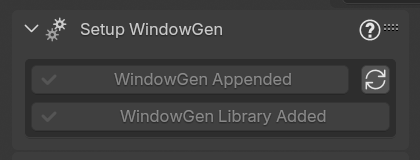
Once the upgrade is completed, the UI will return to its default state.
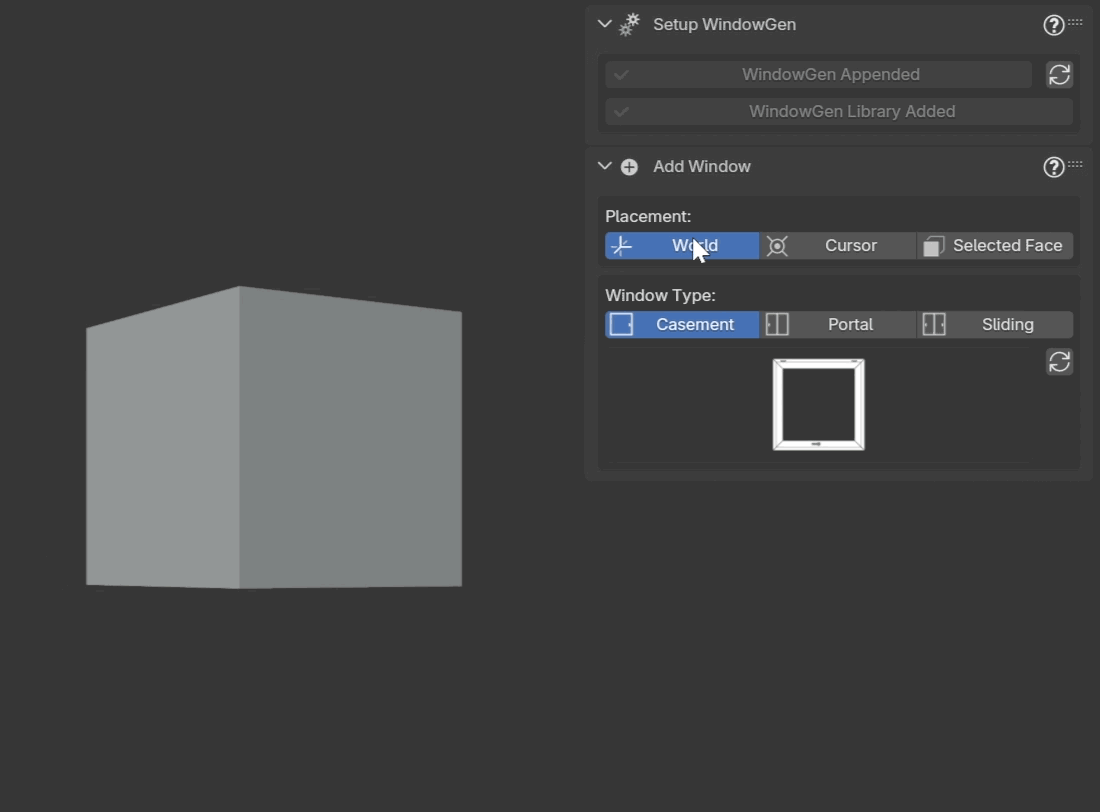
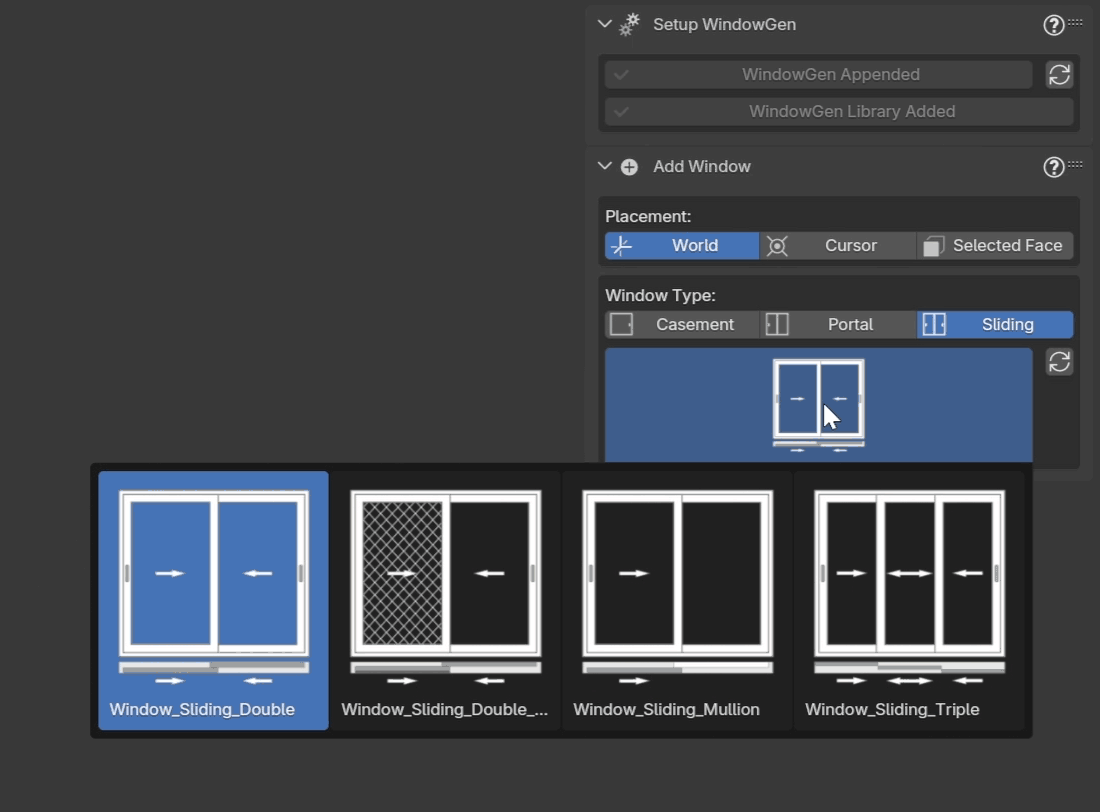
How to add new window to the scene
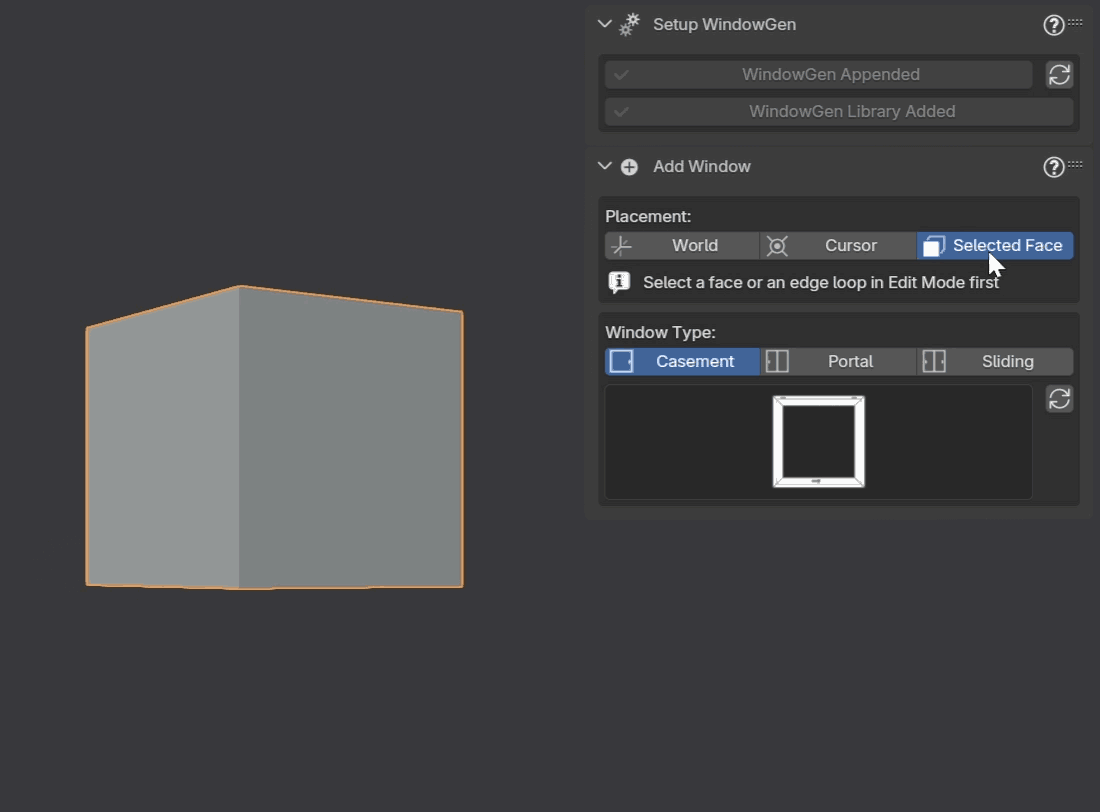
Choose where to place the window: at the World Origin, at the 3D Cursor or at the Selected Face.
When Selected Face option is chosen. Before adding the window, enter Edit Mode (Tab) and select a Face or an Edge Loop you want your window to be placed at. After selecting a face or edge loop, press Tab to return to Object Mode. And add the window (see the next step).
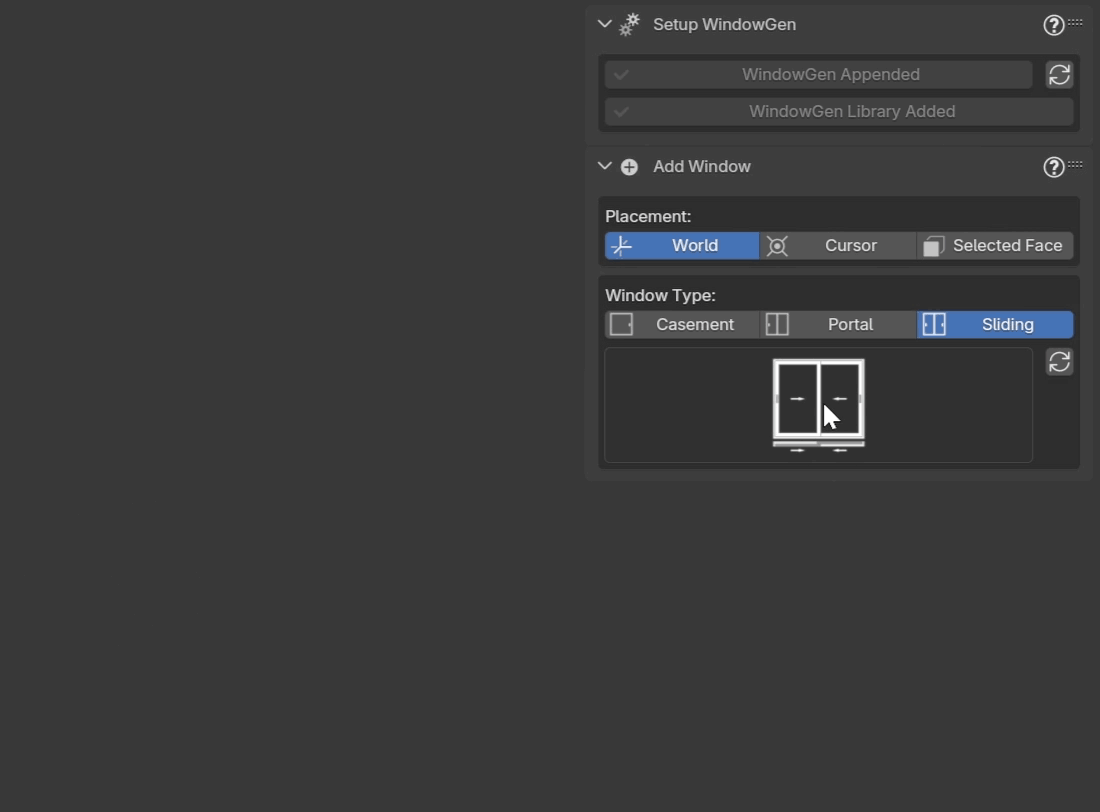
Choose the window type: Casement, Portal or Sliding.
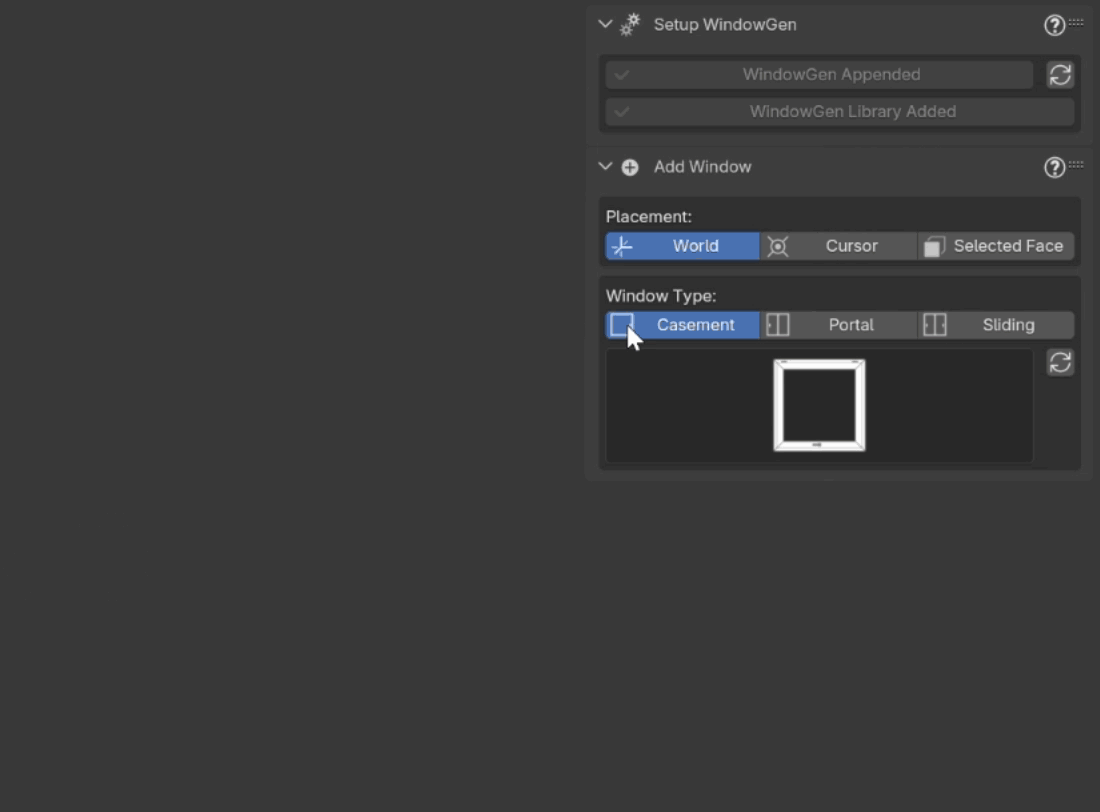
Click on the Window Icon to open the window presets gallery.
Choose one of the presets to add it to your scene.
Now you can adjust the selected preset to your needs. You can navigate to the Parameters section of the documentation to find out how to customize your window.
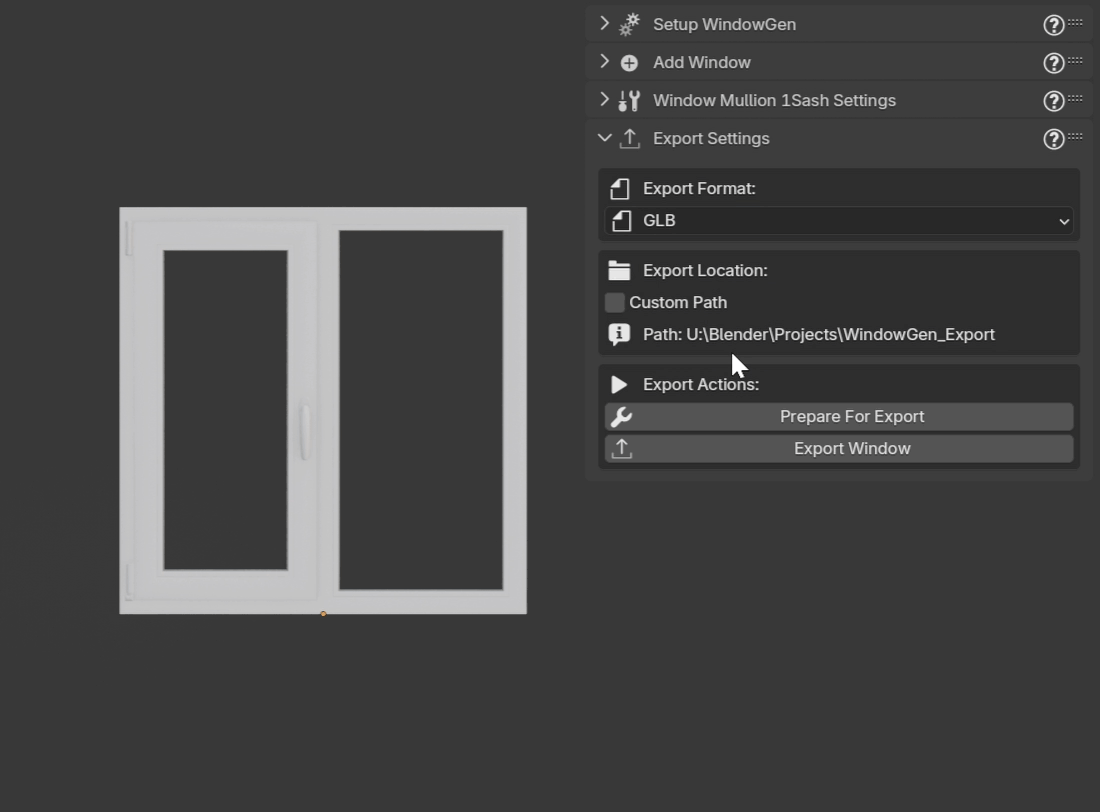
How to export window using WindowGen
Warning
This feature is experimental. Please report any bugs you encounter.
You can export your window using WindowGen. It will export in the chosen format with the default Blender settings for each of the format.
Select the format you want your Window to be exported.
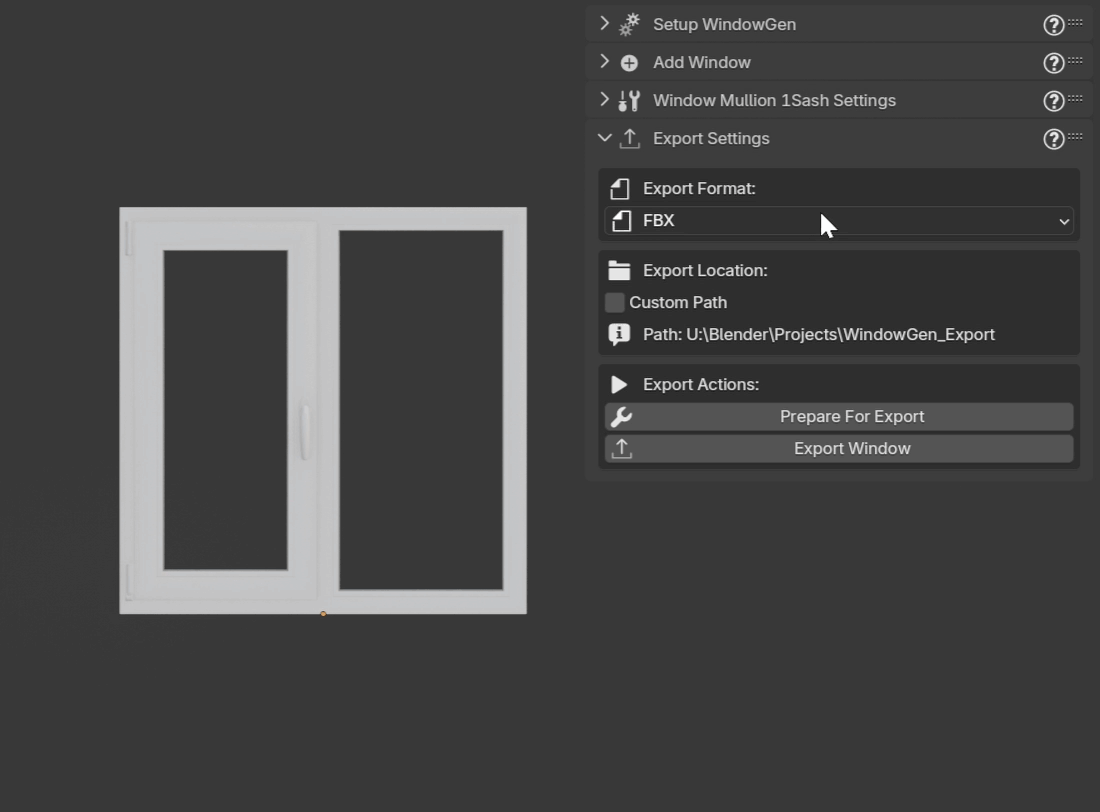
Select Export Location.
Note
By default WindowGen exports selected window to the folder WindowGen_Export, which is created at the same path where your .blend file is saved.
Export Options.
You have two options:
Option A: Prepare for Export (Recommended for inspection)
Press “Prepare for Export”.
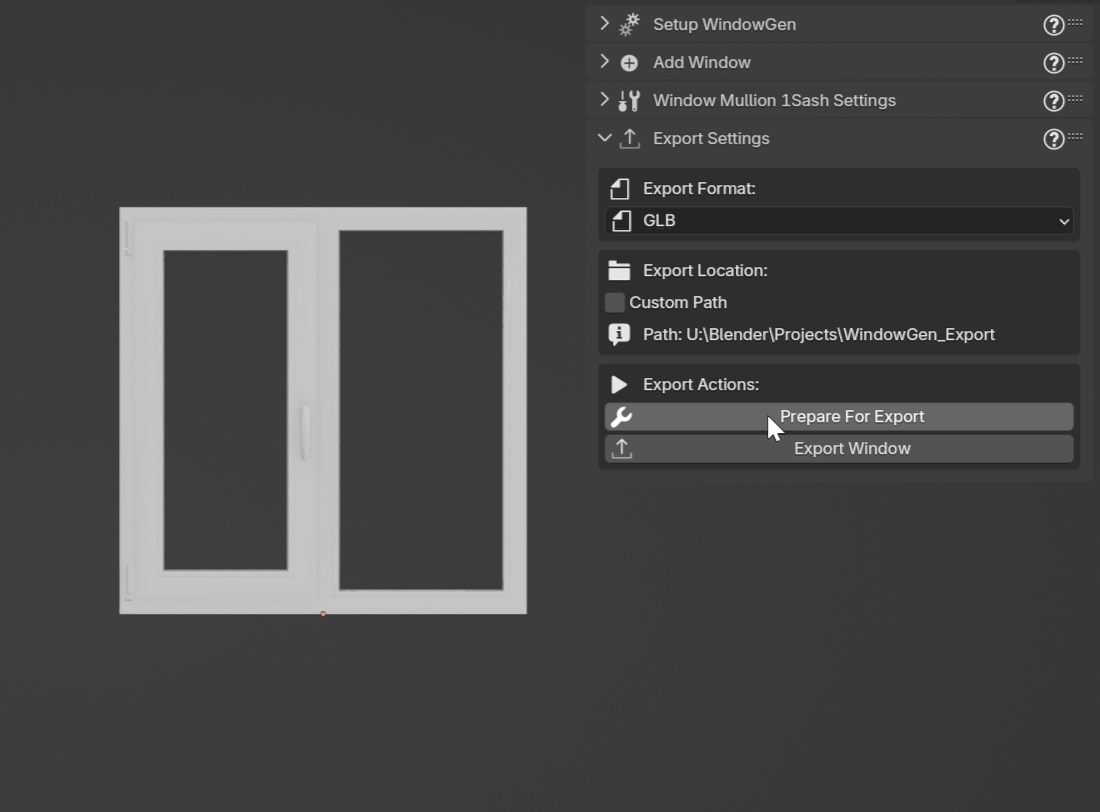
The addon will:
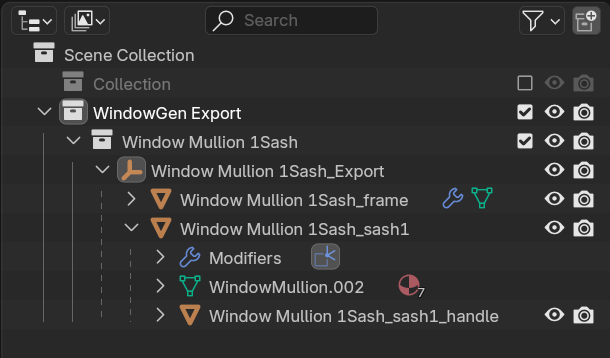
Create a duplicate of your window
Move it to a new collection called “WindowGen Export”
Apply the WindowGen modifier (keeps other modifiers like Weighted Normal)
Separate the window into logical components:
Frame
Sashes (sash1, sash2, etc.)
Handles (sash1_handle, sash2_handle, etc.)
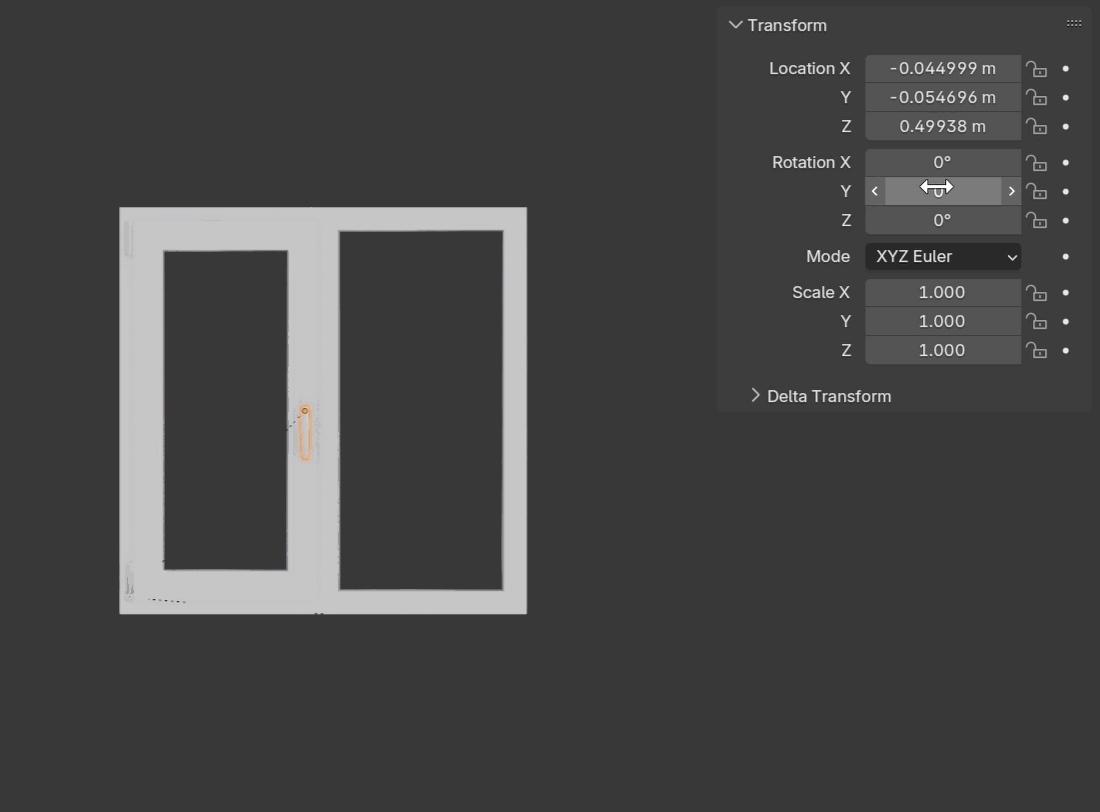
Set proper origins for each component
Create a parent empty object for easy manipulation
Clean up unused materials
You can now:
Inspect the separated components
Make manual adjustments if needed
Export manually using File > Export
Option B: Export Window (One-click export)
Click “Export Window”
The addon will:
Perform all preparation steps automatically
Immediately export to your chosen format and location
Display a success message when complete