Working With WindowGen
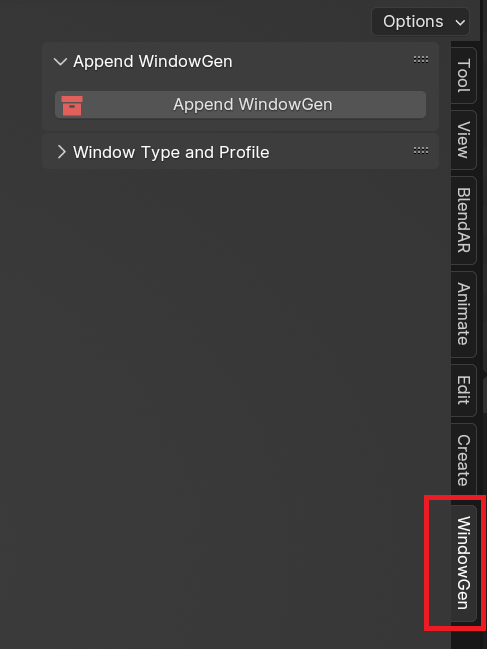
How to open add-on
WindowGen is located in the side panel. To open the WindowGen interface, follow these steps:
Press “N” on your keyboard to open the side panel.
Important
Ensure that your mouse cursor is hovering over the 3D View before pressing “N”. This will ensure that you open the correct panel.
Click on WindowGen tab.
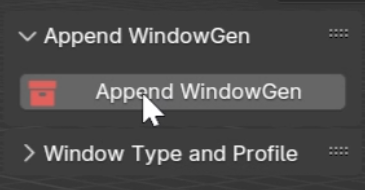
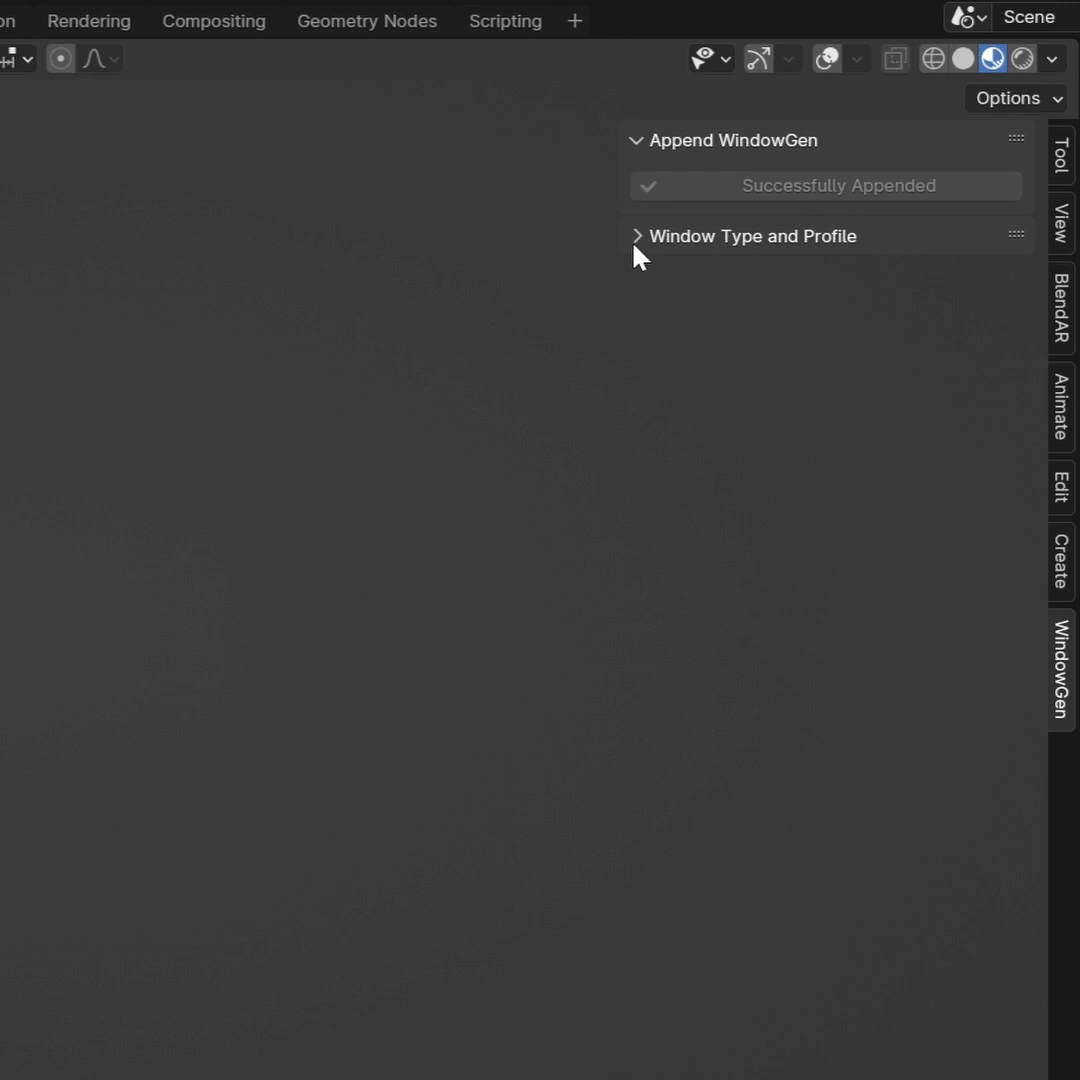
How to append WindowGen to your scene
Before adding your first window to the scene, you need to append WindowGen components to your scene:
Press the “Append WindowGen” button.
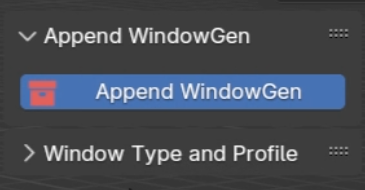
The button will turn blue, indicating that Blender is loading all the necessary components into your scene. This process takes a few seconds.
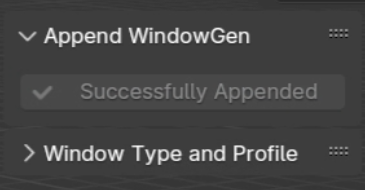
Once all the components are loaded, the button will turn grey, and the text “Successfully Appended!” will appear on the button.
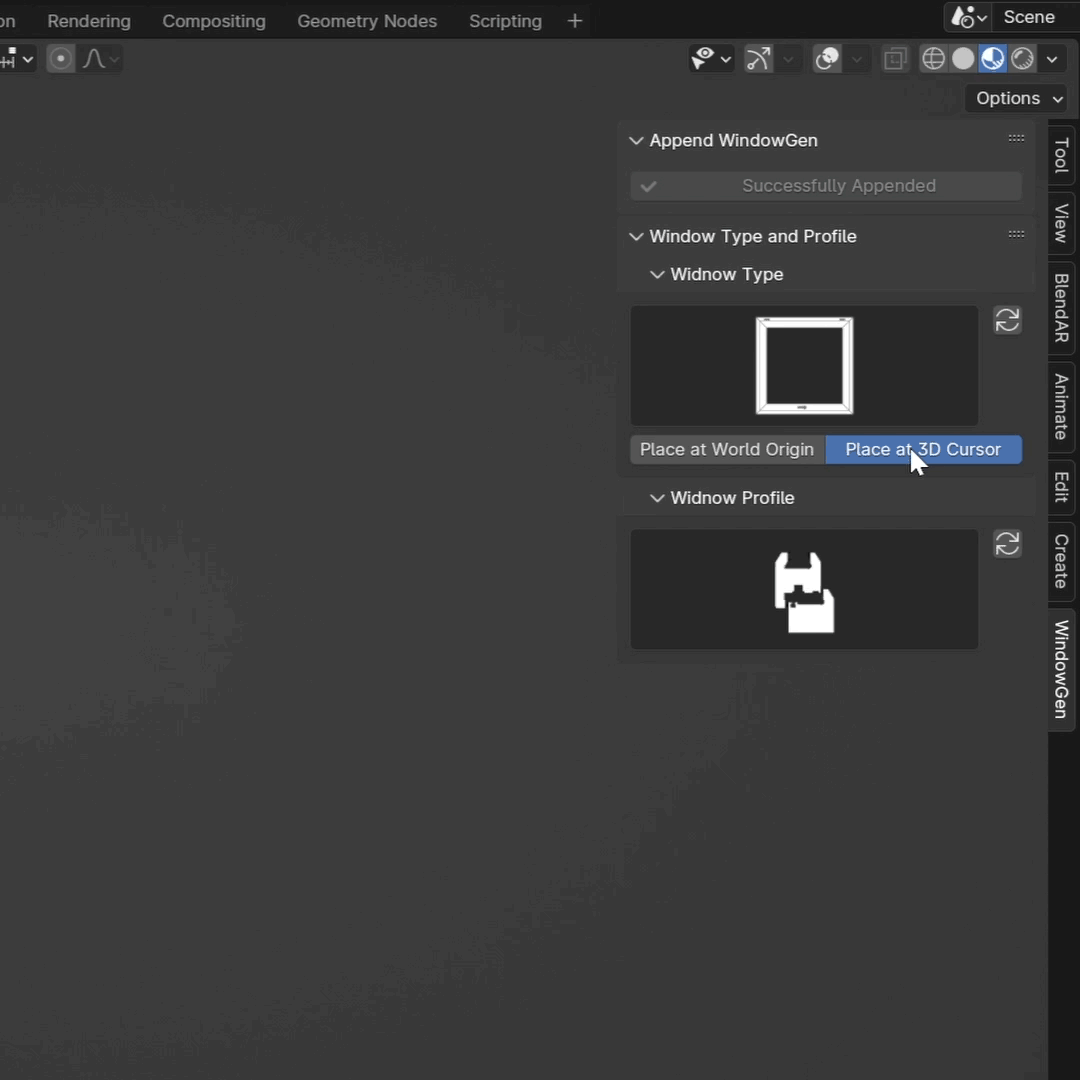
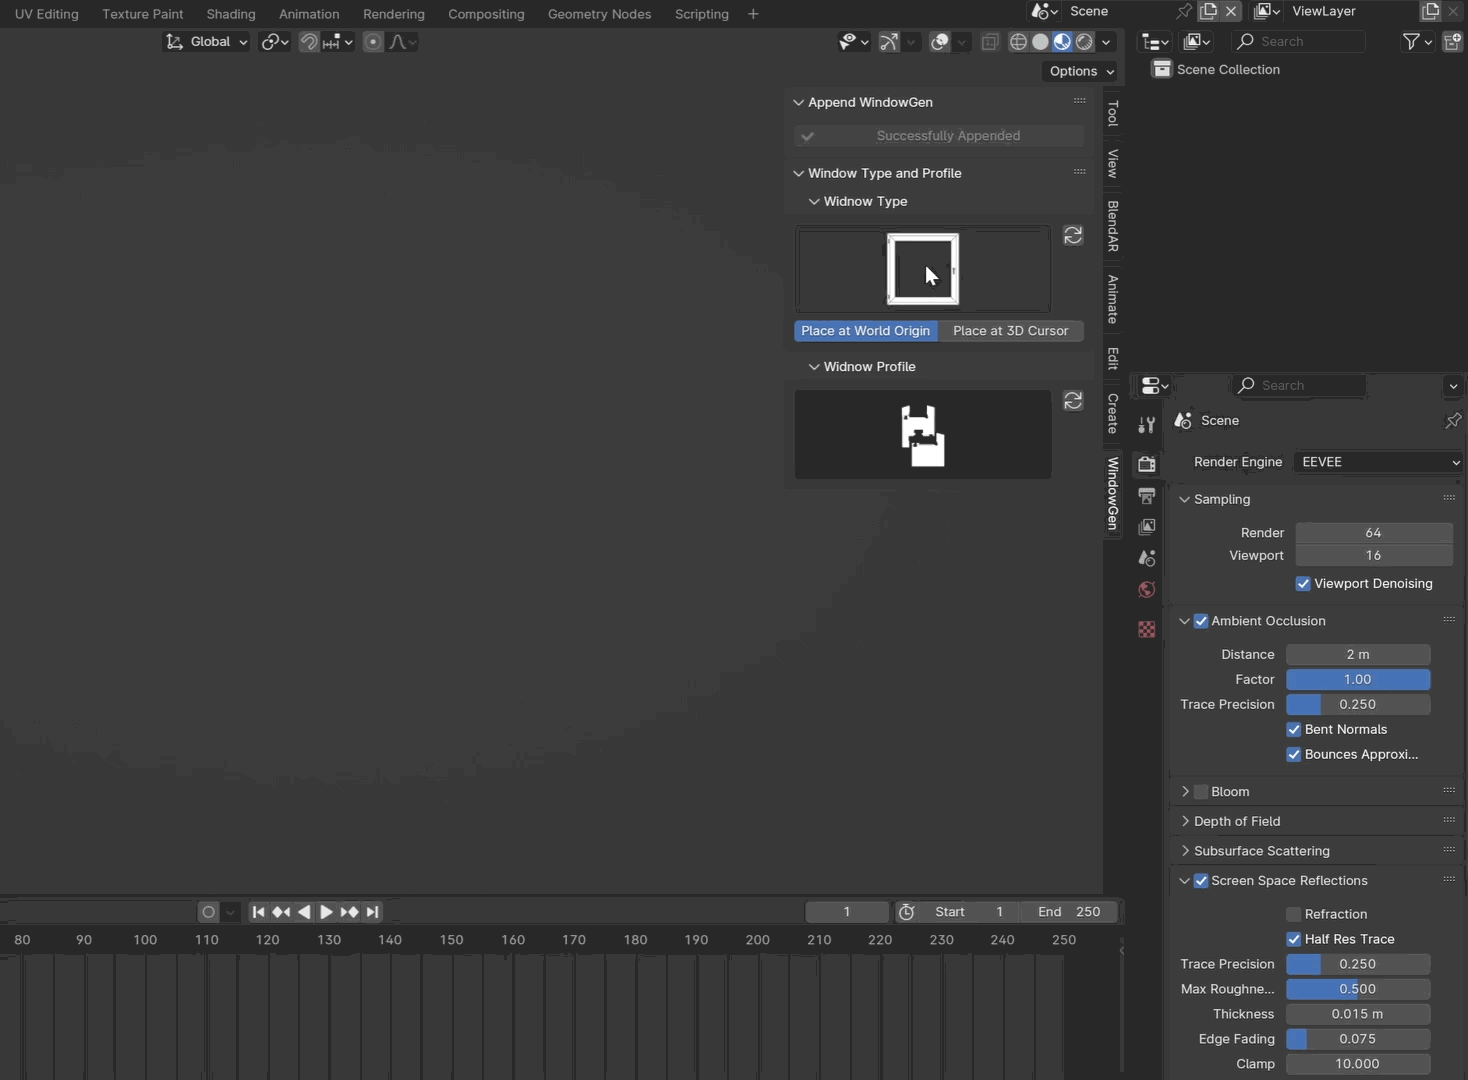
How to add new window to the scene
Expand “Window Type and Profile” panel.
Choose where to place the window: either at the World Origin or at the 3D Cursor.
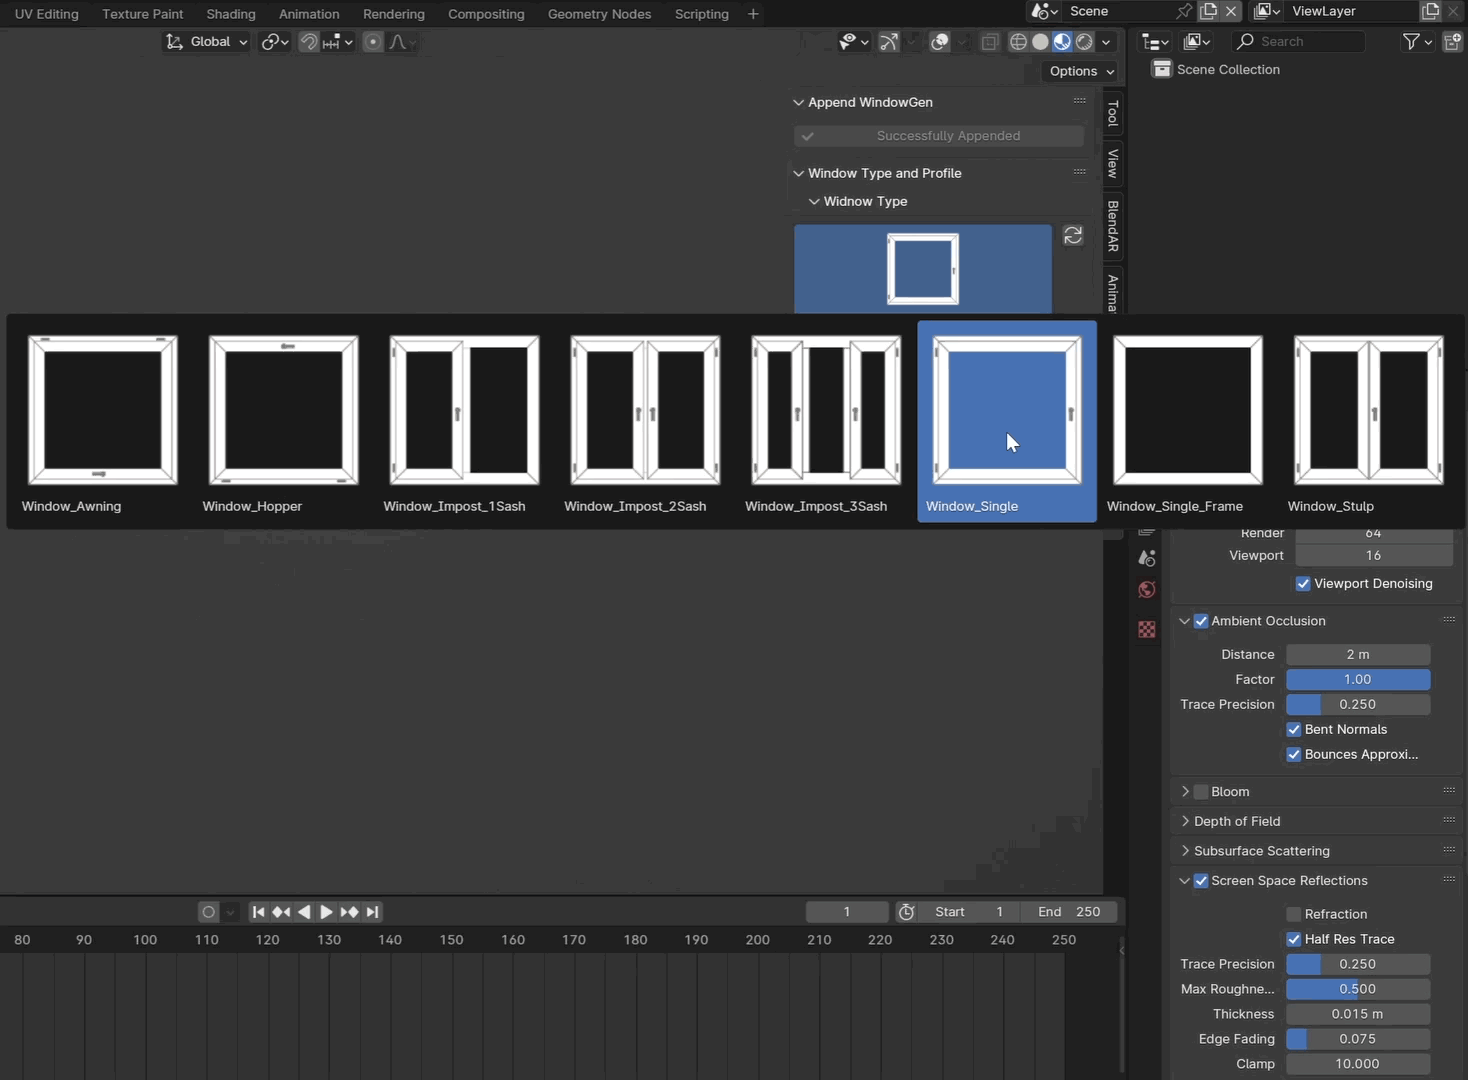
Click on the Window Icon to open the window presets gallery.
Choose one of the presets to add it to your scene.
Now you can adjust the selected preset to your needs. You can navigate to the Parameters section of the documentation to find out how to customize your window.